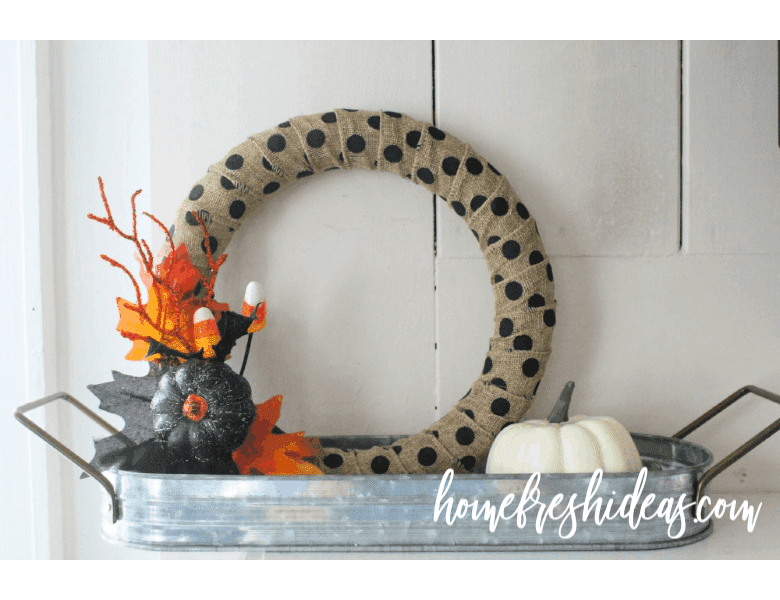
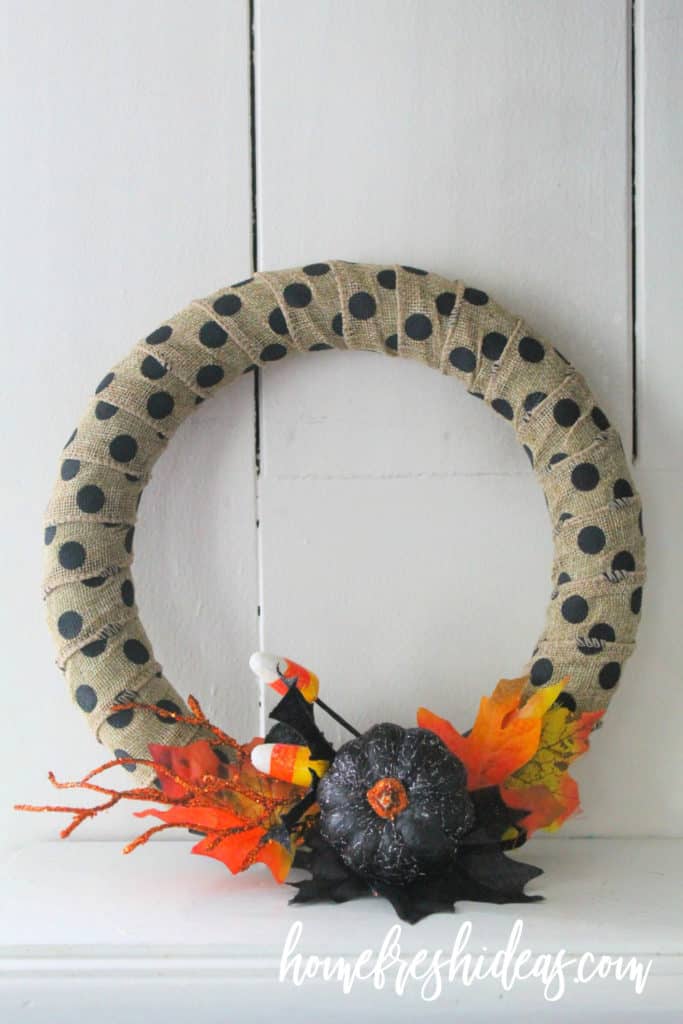
You are going to be amazed by how easily you can make this beautiful fall burlap wreath. I’m sure you have figured out by now that I am a sucker for any DIY wreath I can get my hands on. You can use this as a front door wreath or a decoration on your mantle. With black polka-dot burlap, it has a charming rustic feel that goes with almost any decorating style. Plus, the pop of orange color gives it depth and just adds to the overall welcoming feel.
If you are just starting out making wreaths, then this is a wonderful project for you. You do not have to have tons of wreath making experience at all. It’s so simple to make older kids and teens can make them too. This burlap wreath would be perfect as a craft for a school or church event as well. Just break out those craft supplies and get to work. 🙂
Looking for more DIY Projects? I have got several that you are going to LOVE! Check these out too:
- Gorgeous & Easy DIY Wreath You Can Make In Less Than 1 Hour
- Easy Wooden Tic Tac Toe Game
- DIY Soap Dispenser With Repurposed Liquor Bottle
- Charming & Rustic DIY Farmhouse Wreath
- The Best Fake House Plants For People With Black Thumbs
How To Make A Wreath
You can make these lovely fall wreaths for your office space, give them away as gifts, or make them and sell at craft shows. Either way, it’s best to make things that don’t take forever when you craft a lot. It’s so rewarding to see the finished product. Here are the super-easy steps for you to make this burlap wreath.
First Step: Begin by dabbing a few spots of hot glue to the end of your burlap ribbon. Place the ribbon with hot glue on the inside of the green wreath form. You will need to hold it for a few seconds to make sure it has dried and the ribbon won’t come off when you move your hands away.
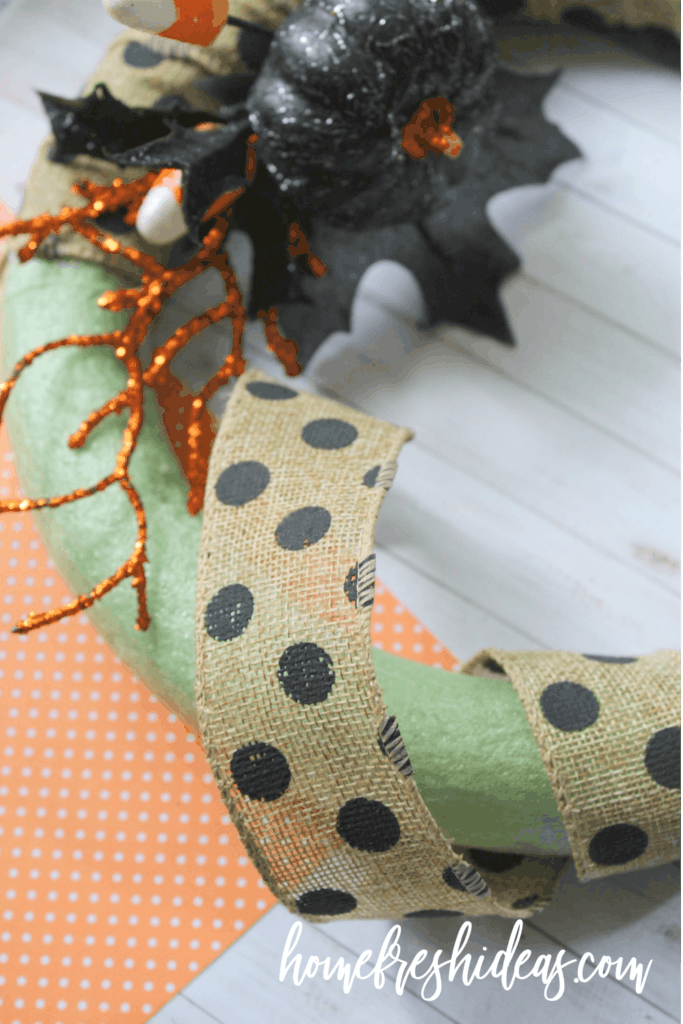
Second Step: Tightly wrap burlap ribbon around the wreath. It’s completely fine to overlap it as you go. As a matter of fact, it looks much better when you do overlap. It gives the rustic wreath more character and depth this way.
Third Step: Continue wrapping the wreath with ribbon until it’s been completely covered. You don’t want there to be any green showing through from the wreath form. Add a drop or two of hot glue to the ribbon end to keep it in place.
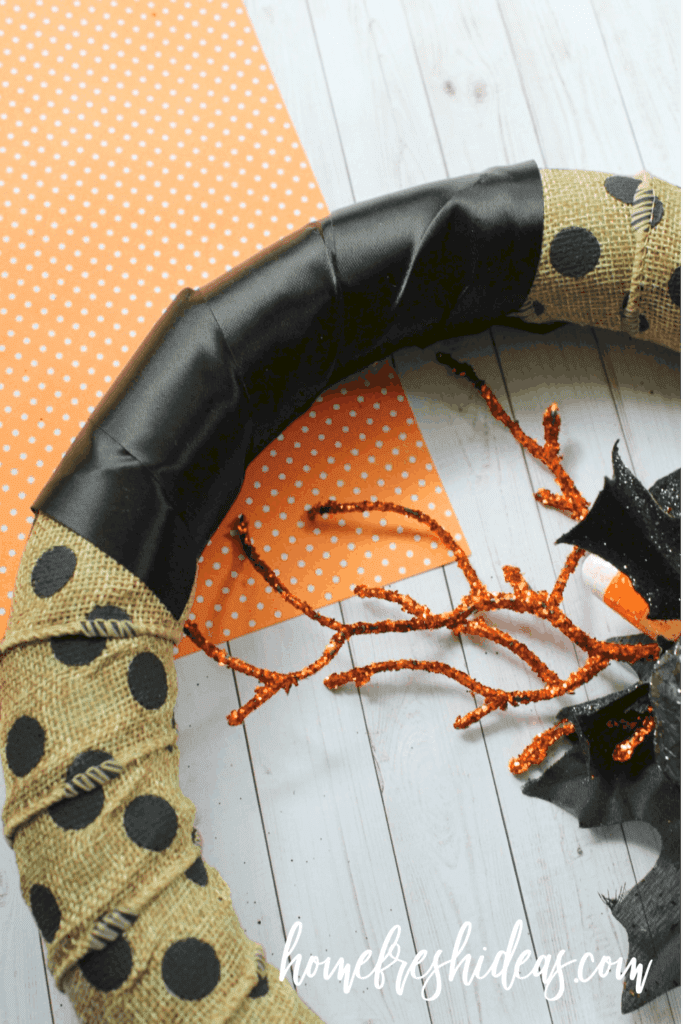
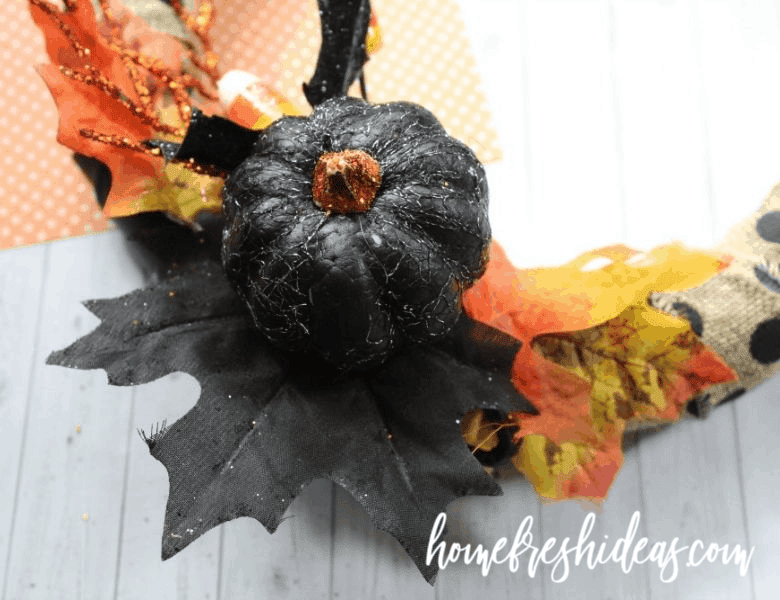
Fourth Step: Figure out where you think you will like the fall foliage best. Then wrap some black ribbon in that area. You just want to cover about 1/4 -1/8 of the wreath with the black ribbon.
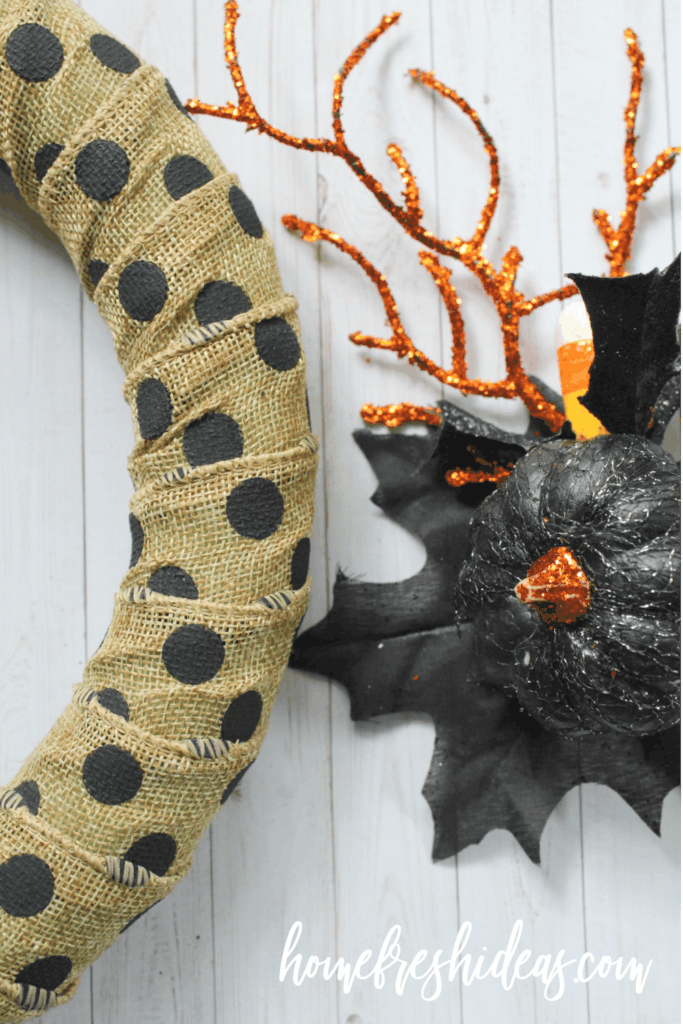
Fifth Step: Add a fair amount of hot glue to the back of your decorations. Place and hold the decorations to the area with the black ribbon. Keep it in place until it’s dry. Continue adding pieces until you have it how you like it.
Optional Tip: If you are intending on using this as a front door wreath or wall hanging, you will want to tie a piece of burlap at the top so you can hang it. Otherwise, you can set it on a mantle or shelf without this step.
Can I Use Different Decorations For This Wreath?
Of course, you can literally use any kind of materials you want for this rustic wreath. If you want to decorate for other holidays like Christmas, Easter, St. Patrick’s Day or anything else, feel free to use burlap and another ribbon that matches. 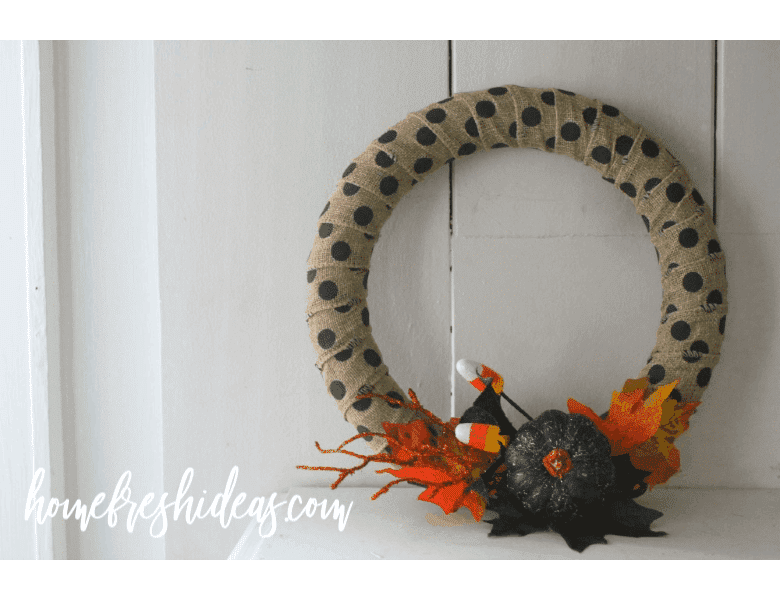
How Long Does It Take To Make This Burlap Wreath?
You can throw this wreath together in 30 minutes even if you are a beginner. I love to make a wreath that is quick and easy because I don’t always have the patience for ones that take hours to make. Plus, I think the simple look is more rustic and stylish for my home.
Beautiful Fall Burlap Wreath For Front Door Or Mantle

This DIY beautiful fall burlap wreath is perfect for your front door or mantle. It's easy to make this rustic wreath, and it's positively lovely!
Materials
- Wreath Form - Green or White Foam
- Polka Dot Burlap Ribbon (or any other design you like)
- Fall Decorations
- Plain black ribbon
Tools
- Hot Glue Gun with Glue Sticks
- Sharp Scissors
Instructions
1. Apply a few dabs of the hot glue to the end of your burlap ribbon onto the inside of the wreath. You will need to hold in place until it's dry.
2. Begin wrapping the ribbon carefully around the wreath. Be sure to wrap the wreath tight. Overlap as you go along too.
3. Wrap ribbon until the entire wreath is covered then secure with some hot glue.
4. Add the black ribbon and wrap it around the area you want to add the decorations. Secure with glue.
5. Put a fair amount of glue one your decorations. (one at a time) and adhere them to the wreath over the black ribbon. Hold each item in place until they are dried well.
6. Optional - If you are hanging the wreath you can add a piece of burlap rope at the top to form a hoop. This is what you use to hang it with. Or you can leave it as is and prop it on a mantle or bookshelf.
Recommended Products
As an Amazon Associate and member of other affiliate programs, I earn from qualifying purchases.
-
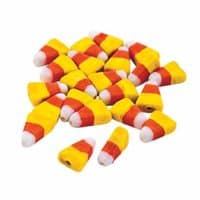 Fun Express - Candy Corn Lampwork Beads for Halloween - Craft Supplies - Kids Beading - Lampwork - Halloween - 24 Pieces
 -
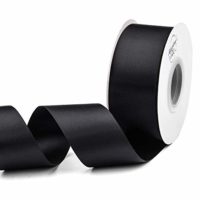 Humphrey's Craft 1-1/2 inch Double Face Solid Satin Ribbon 100% Polyester Ribbon Roll -25 Yard (Black)
 -
 CraftMore Fall Maple Leaf Garland 6 Feet
 -
 Set of 6 Halloween Decorative Pumpkins! 4.25" Pumpkins Perfect for Halloween Parties, Decor and More! (6)
 -
 FloraCraft FLOXT12WU Flora Craft Floxt12wu White Flora Craft Styrofoam
 -
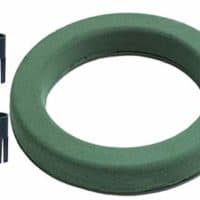 Oasis 12 Inch Ring Holder - Holiday Wreath Making Kit - Includes Candle Stakes
 -
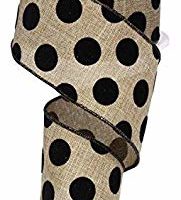 Polka Dot Wired Edge Ribbon (2.5", Natural Black) - 10 Yards : RW7217TR
