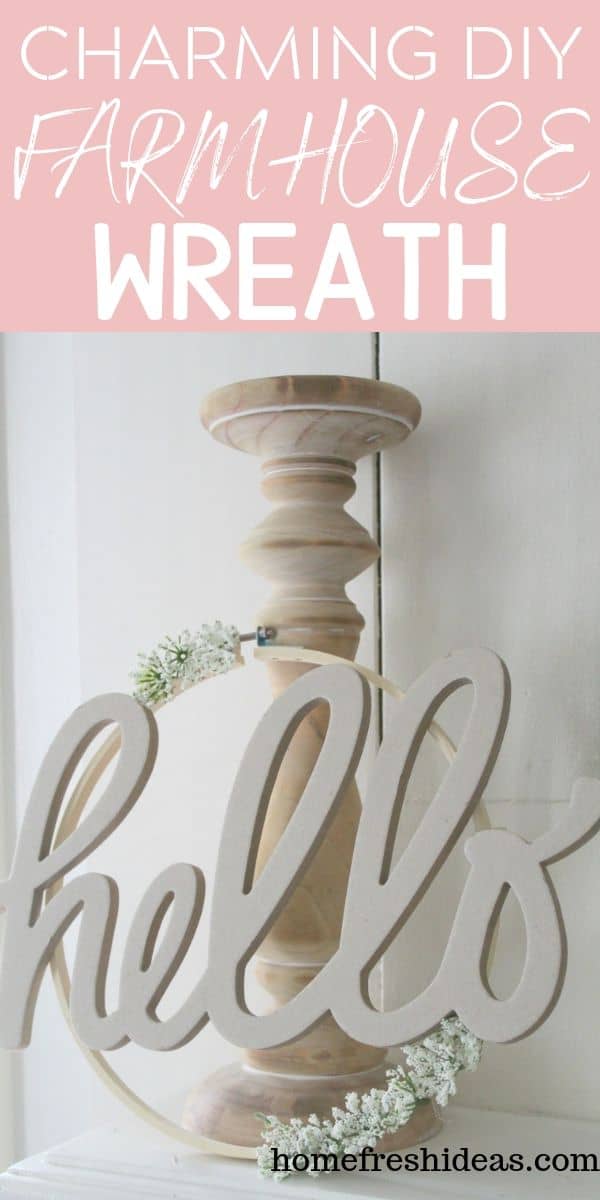
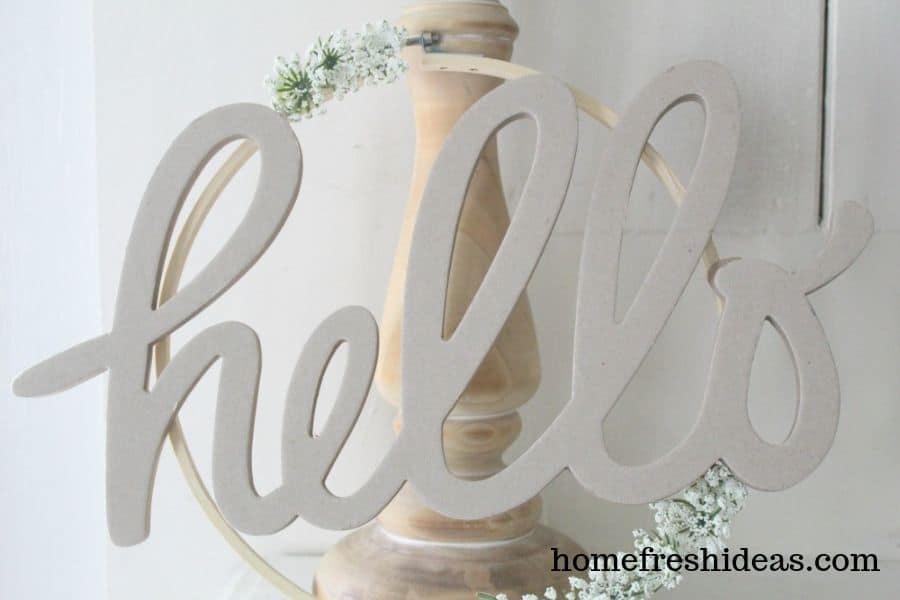
I am so excited to share with you how to make your own charming DIY farmhouse wreath! This beautiful DIY door wreath makes a wonderful gift idea or household decoration. It’s super versatile and can be used to add charm and character to any room in the house too. Plus, making your own home decor is a fabulous way to spend the day.
Whenever I get in the mood for crafting, I just can’t get it to go away! If you are a person who loves making things, you totally get what I am saying, right? 😉 My poor husband gets stranded In Hobby Lobby or other stores with me, thank goodness for cell phones so he can entertain himself when he is bored to tears. HA!
I always love to make things that I think other people will like or that could be given away as a gift too. So, if you are looking to make your own gifts, then this one is sure to impress your friends and family members. Another great idea is you could sign up to sell these at craft shows or other community events too. You might as well make some money!
How To Make A Farmhouse Wreath
This spring wreath is super simple to throw together, and you need very few supplies. Take a look at these easy steps:
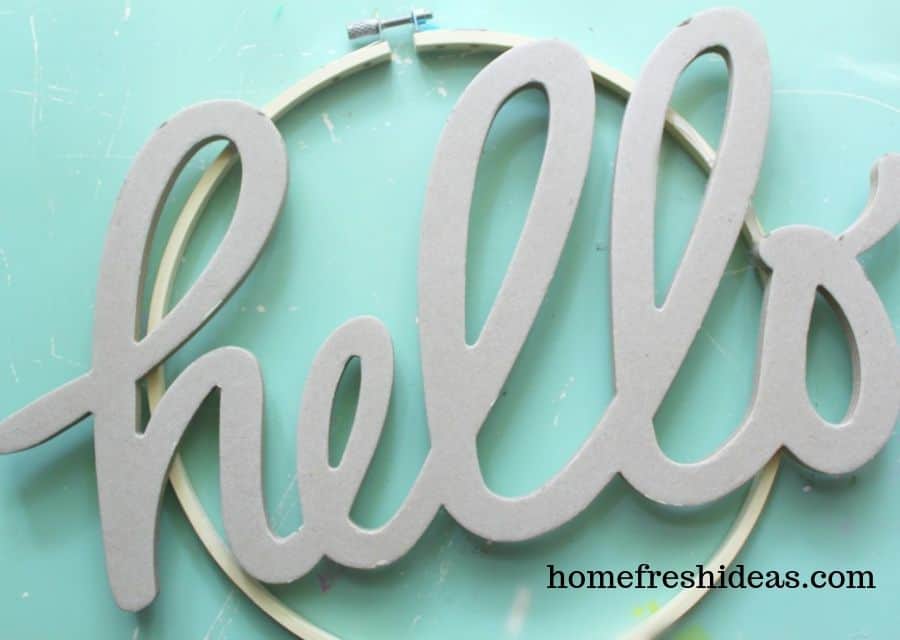
First Step: Begin by placing the chipboard cut out on top of the embroidery hoop. This will help you get an idea of how to center it evenly.
Second Step: Once the chipboard in position as you would like, you can take a pencil and make small marks on the hoop, so you know where to add the hot glue. You want to be sure you mark the two sides where the chipboard will be pressed to the hoop.
Third Step: In order to not make a mess with the hot glue or have it showing where you don’t want, only add generous dabs to the marked areas.
Fourth Step: Quickly press the chipboard onto the glue dabs. If you need to shift or center the word, make sure you move it quickly while the glue is still soft.
Fifth Step: Hold the word in place until it is secure. You can now turn the hoop over and add additional drops of hot glue under any part of the word that may need some. Allow drying time.
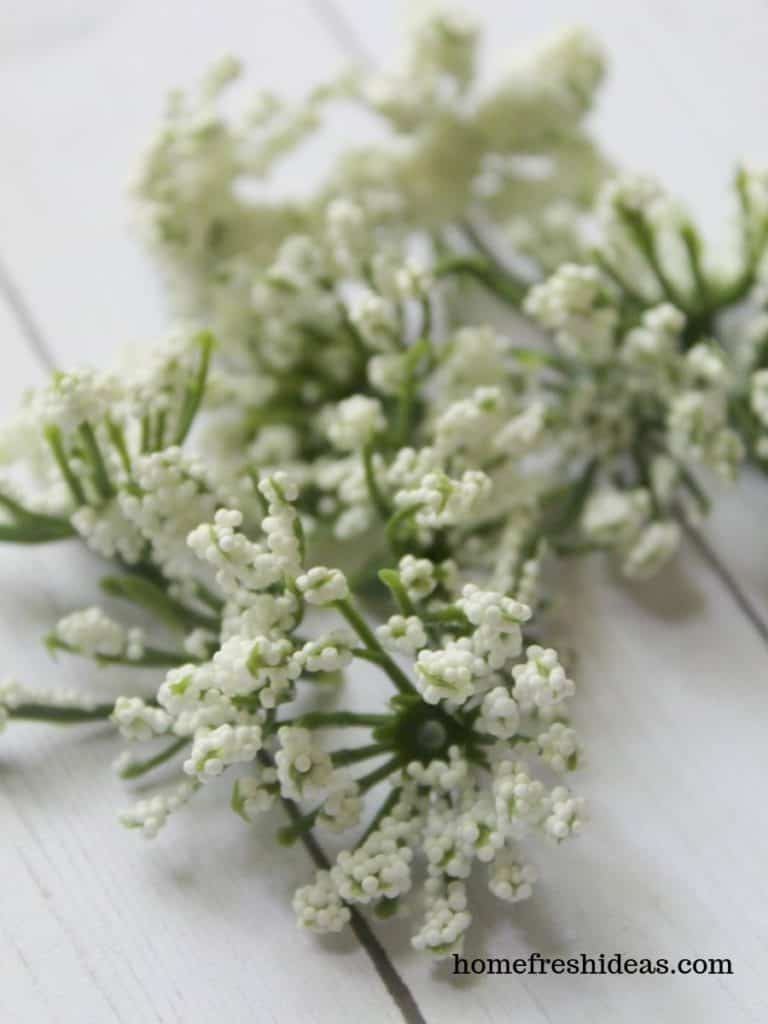
Sixth Step: Cut the faux blooms from their stems. Add a small dab of glue to the embroidery hoop and press the blooms in place. You can add as many flowers as you wish. We placed a few on both the top and bottom of the hoop.
Seventh Step: Once all of your pieces are dry, your Hello Wreath is ready to be displayed. You can add ribbon for hanging or simply hang it as is.
Optional Tips For This Farmhouse Wreath
You can do all sorts of things with this farmhouse style wreath to make it your own. Here are a few ideas to try out when you are experimenting.
- Paint the “hello” cutout. You can paint the words to give it a pop of color. Turquoise, gray, salmon, white or anything else you can think of would look lovely.
- Add different flowers. You can choose anything that you like or goes with your style. If you are making them as gifts or selling them, you can use a variety of flowers too.
- Choose a different word. I love “hello” because I wanted it as a front door wreath. But you could pick words like Family, Love, Faith, Home, Farmhouse or whatever else you like.
What Is The Proper Height To Hang A Wreath?
You should try to hang your wreaths around 57 inches above the floor. This isn’t a rule that is set in stone, so do what fits your style, but that is average eye height for most people. You don’t want to go lots higher or lots lower because it will be challenging to get a good look. The great thing about this wreath is you could lean it up against something or hang it! Works both ways beautifully.
How Do You Secure A Wreath To A Door?
I find the easiest way to secure a wreath to a door is by using a ribbon or some rope. You just need to tie it around the wreath and hang it on a small nail or hook. Easy peasy and it looks fantastic.
Looking For More DIY Ideas?
If you love making things and crafting, take a look at some of these projects. They are quick, easy, and just plain fun!
- Gorgeous & Easy DIY Wreath You Can Make In 1 Hour
- Easy Wooden Tic Tac Toe Game
- DIY Soap Dispenser With Repurposed Liquor Bottle
- The Best Fake House Plants For People With Black Thumbs
- DIY Pallet Projects You Can Make This Weekend
Some of the links in this post are affiliate links. This means if you click on the link and purchase the item, I will receive an affiliate commission at no extra cost to you. All opinions remain my own.
Charming & Rustic DIY Farmhouse Wreath

Materials
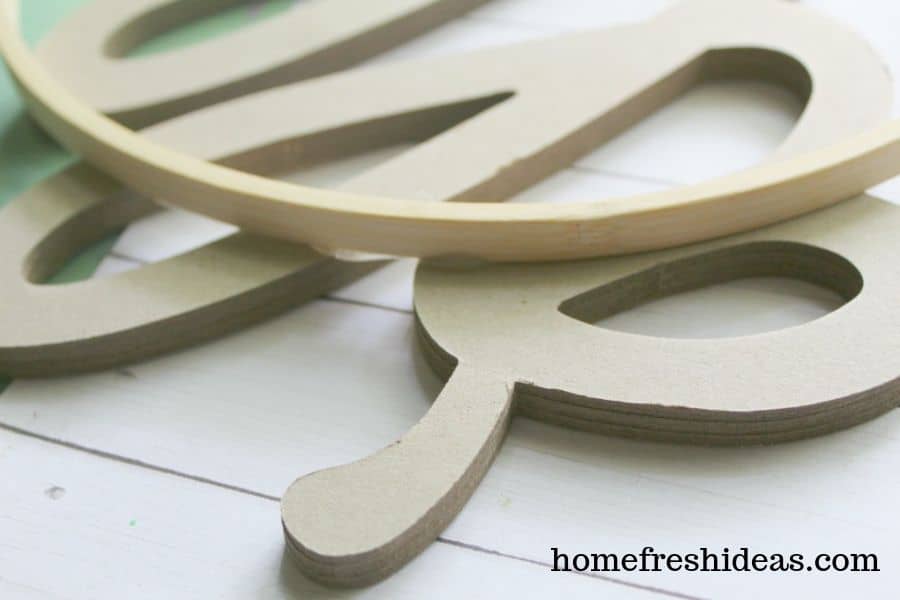
- Wood embroidery hoop, at least 12 inches in size
- Hello chipboard cut out
- Small white, faux flowers (we found ours at Dollar Tree, opt for small blooms)
- Scissors
- Hot glue
- Glue gun
Instructions
1. Begin by placing the chipboard cut out on top of the embroidery hoop. This will help you get an idea of how to center it evenly.
2. Once the chipboard in position as you would like, you can take a pencil and make small marks on the hoop so you know where to add the hot glue. You want to be sure you mark the two sides where the chipboard will be pressed to the hoop.
3. In order to not make a mess with the hot glue or have it showing where you don't want, only add generous dabs to the marked areas.
4. Quickly press the chipboard onto the glue dabs. If you need to shift or center the word, make sure you move it quickly while the glue is still soft.
5. Hold the word in place until it is secure. You can now turn the hoop over and add additional drops of hot glue under any part of the word that may need some. Allow time to dry.
6. Cut the faux blooms from their stems. Add a small dab of glue to the embroidery hoop and press the blooms in place. You can add as many blooms as you wish. We placed a few on both the top and bottom of the hoop.
7. Once all of your pieces are dry, your Hello Wreath is ready to be displayed. You can add ribbon for hanging or simply hang it as is.
Notes
There are several variations for this farmhouse wreath you can do. Adjust wording, flowers, or even add color based on your preferences.
Recommended Products
As an Amazon Associate and member of other affiliate programs, I earn from qualifying purchases.
-
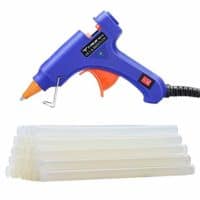 Hot Glue Gun, TopElek Mini Glue Gun Kit with 30pcs Glue Sticks, High Temperature Melting Glue Gun for DIY Small Projects, Arts and Crafts, Home Quick Repairs,Artistic Creation(20 Watts, Blue)
 -
 Bomarolan Artificial Baby Breath Flowers Fake Gypsophila Bouquets 12 Pcs Fake Real Touch Flowers for Wedding Decor DIY Home Party(White)
 -
 WINOMO Wooden Hello Letter Unfinished Wooden Hello Sign Wall Art Decoration 30.5x12.7x0.4cm
 -
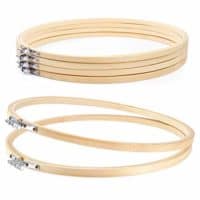 Caydo 6 Pieces 12 Inch Wooden Round Embroidery Hoops Adjustable Bamboo Circle Cross Stitch Hoop Ring Bulk Wholesale for Art Craft Handy Sewing
 -
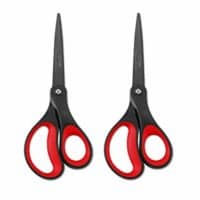 LIVINGO 2 Pack 8" Titanium Non-Stick Scissors, Professional Stainless Steel Comfort Soft Grip, All-Purpose, Straight Office Craft Scissors(Red/Black)