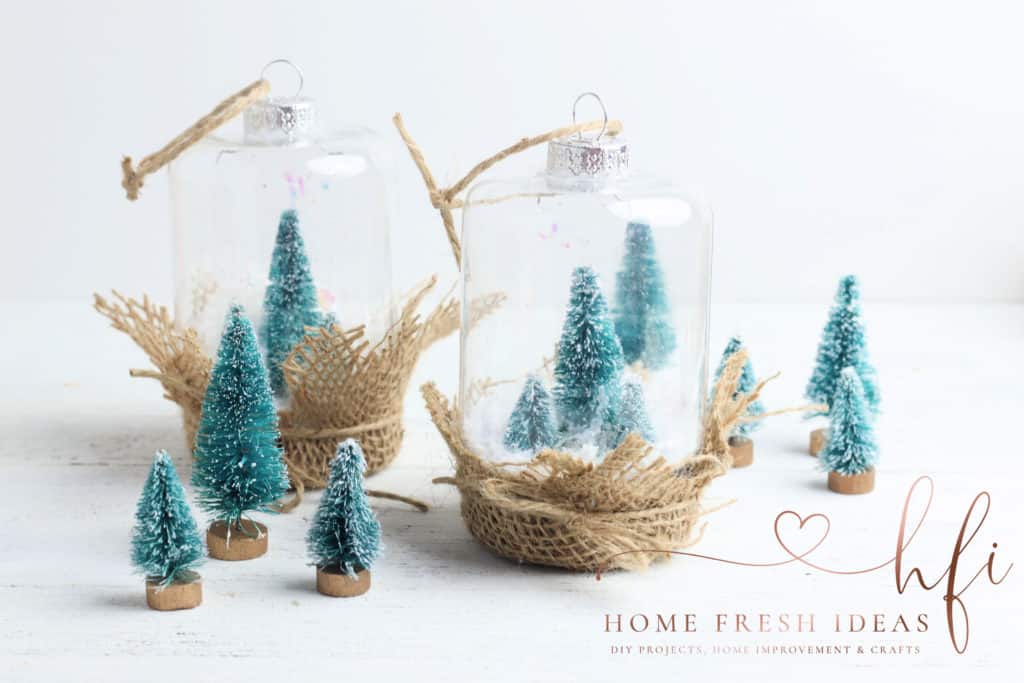
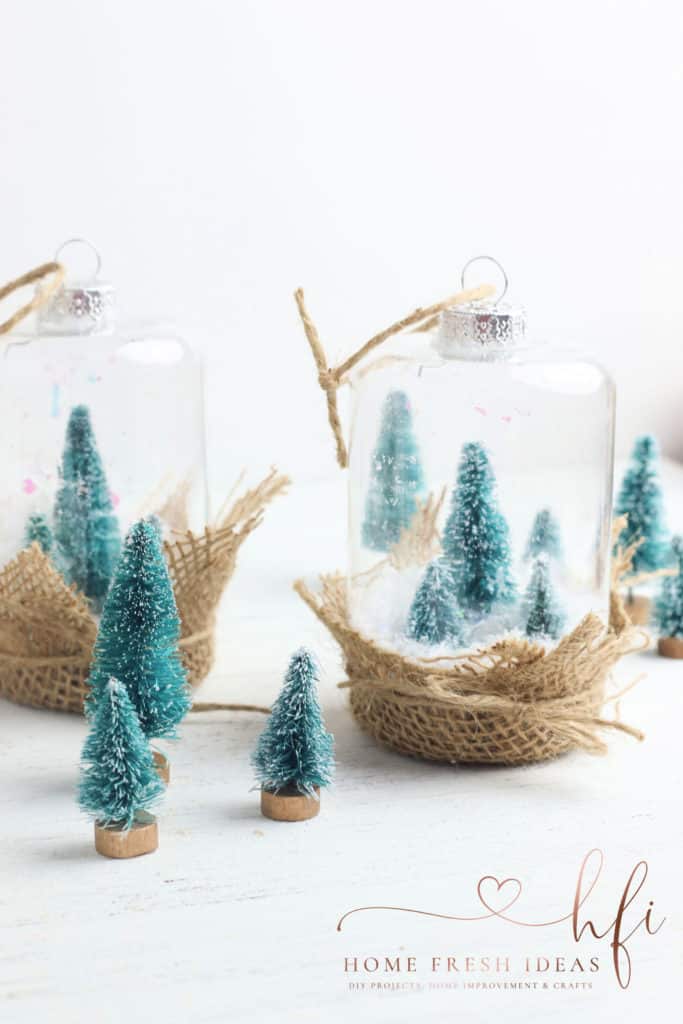
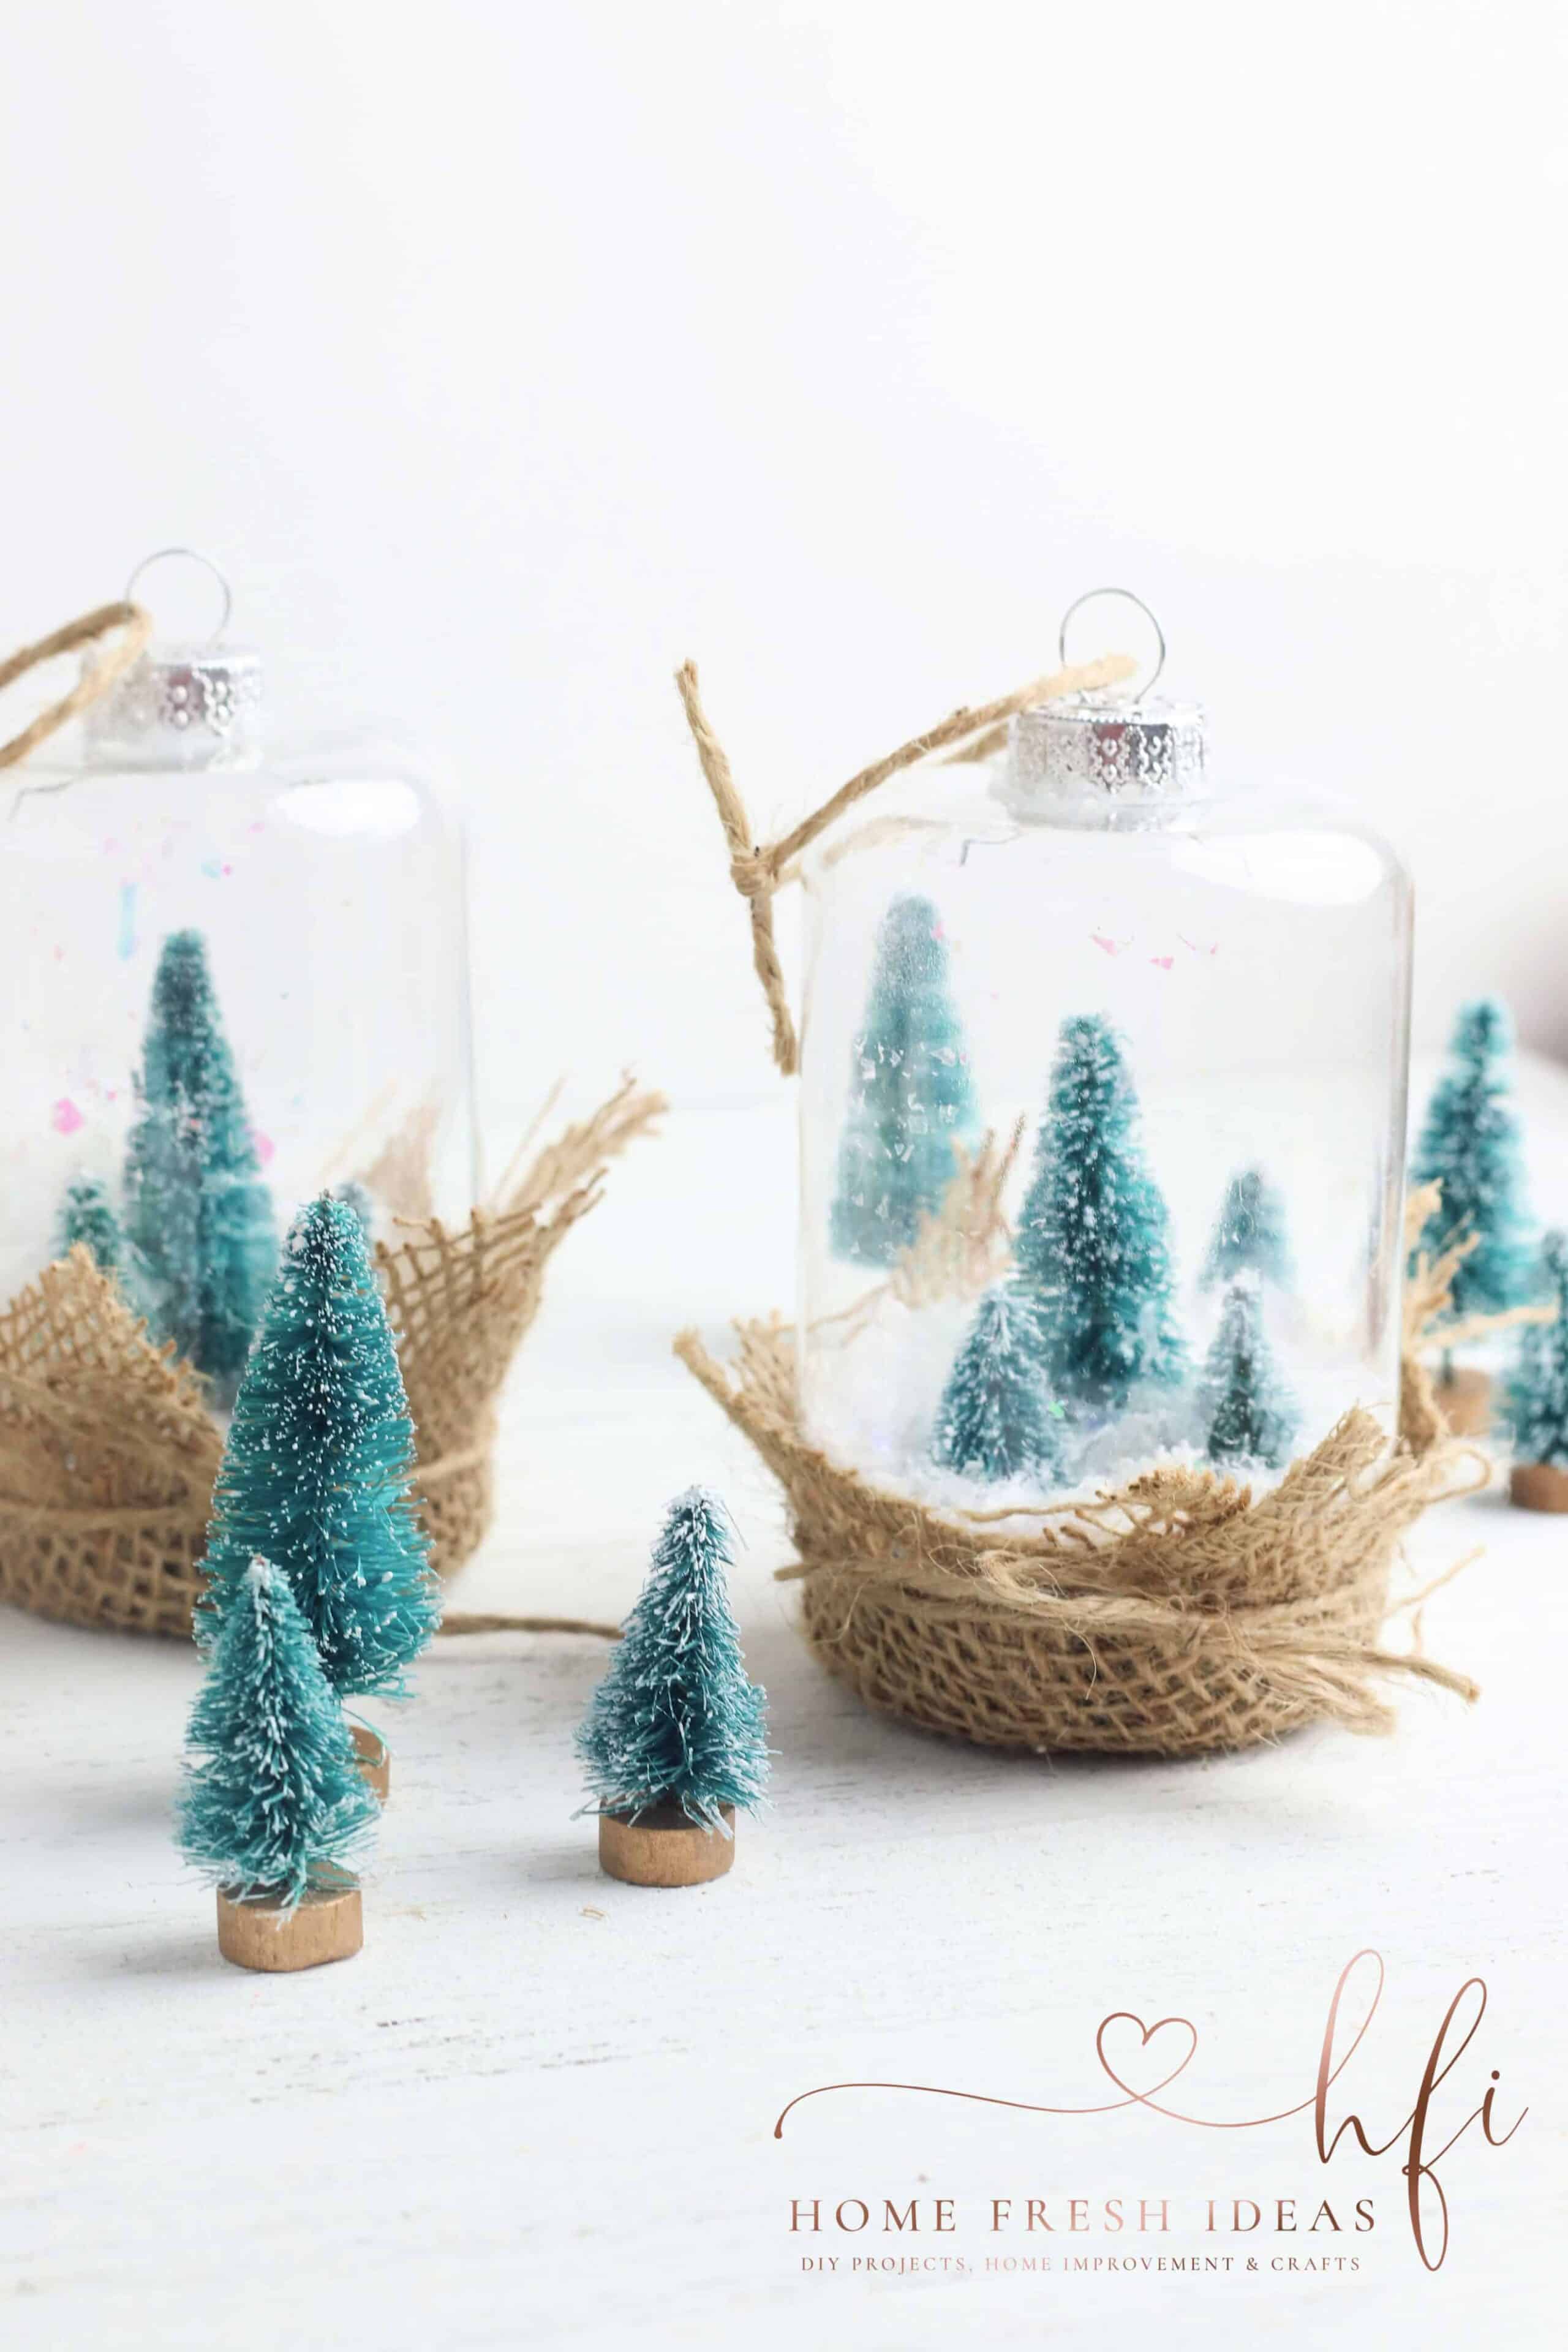
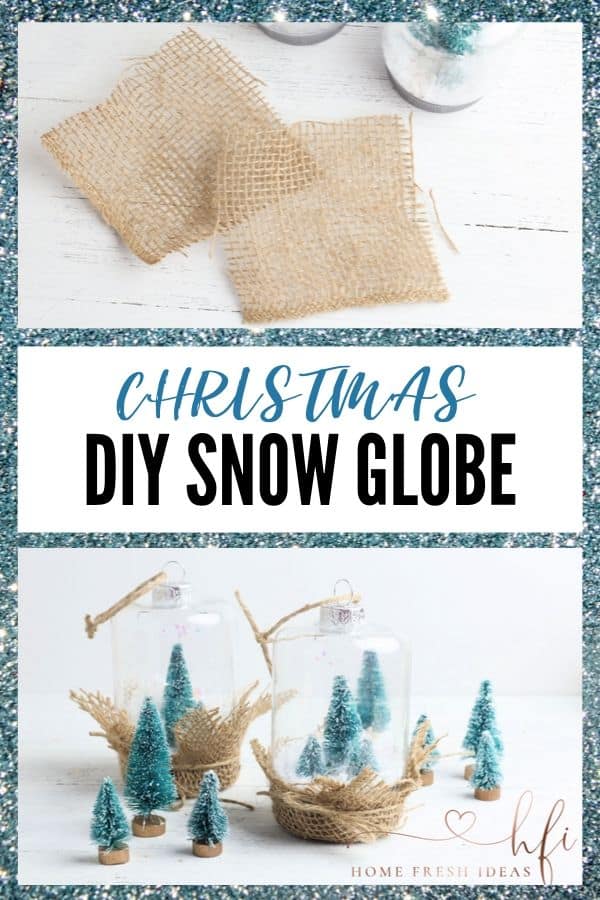
These festive DIY Christmas snow globes are a fun way to decorate for the holiday season. And they’re also a fun craft to make with during the Christmas season! While traditional snow globes use liquid inside to help the “snow” float, making your own liquid-filled snow globe can get pretty messy. If you’re looking for a fun way to make a DIY snow globe without all the mess, you’re going to love these easy water-free snow globe ornaments.
Looking For More DIY Projects?
I think you are going to enjoy all of these DIY projects. They are for all times of the year, so you can always be crafting.
- Gorgeous & Easy DIY Wreath
- Mickey Mouse Wreath Tutorial
- DIY Wine Bottle Unicorn Craft
- Easy Wooden Tic Tac Toe Game
Why Make Water-Free Snow Globes?
There are several reasons to opt for water-free snow globes instead of the liquid-filled version.
The first reason is pretty apparent – it’s not as messy. Most water globes require you to put glycerin or a mixture of water and glue inside the globe.
This liquid helps the snow look like it’s floating around the globe when you shake it. But if you plan to make this craft with your kids, it can quickly get messy. In addition to the liquid aspect to think about, you’ll also be adding glittery snow to the mix. That can be a messy combination if you’re not careful!
Another reason to consider going the water-free route is if you plan to hang these custom snow globes on the tree. The snow globe ornaments I used to make my water-free snow globes have a hanger on top that is not water-tight. That means, to avoid a leak when hanging these finished ornaments on the tree, there was no way I could put a liquid inside the ornament.
But even if you find a snow globe container that is water-tight, using a water-free method for making your snow globe ornament is still a good idea. Even water-tight containers have the potential to leak, which means your snow globe could spill liquid while it’s being stored throughout the year. That could leave you with a messy surprise when you unpack your holiday decorations next year!
Some of the links in this post are affiliate links. This means if you click on the link and purchase the item, I will receive an affiliate commission at no extra cost to you. All opinions remain my own.
How to Make A Snow Globe
If you’re ready to get started with this Christmas snow globe craft, it’s time to grab your supplies! To make your snow globe ornaments, you’ll need:
- Empty snow globe ornaments – any shape you like
- Cotton balls
- Mini trees
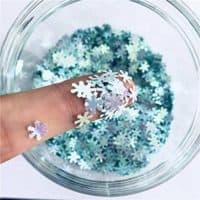
- Glitter snowflakes
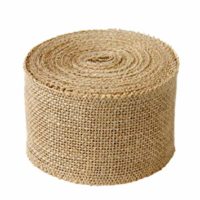
- Burlap
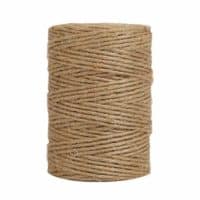
- Jute twine
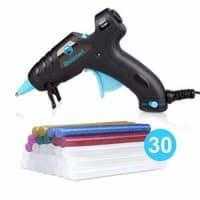
- Hot glue gun
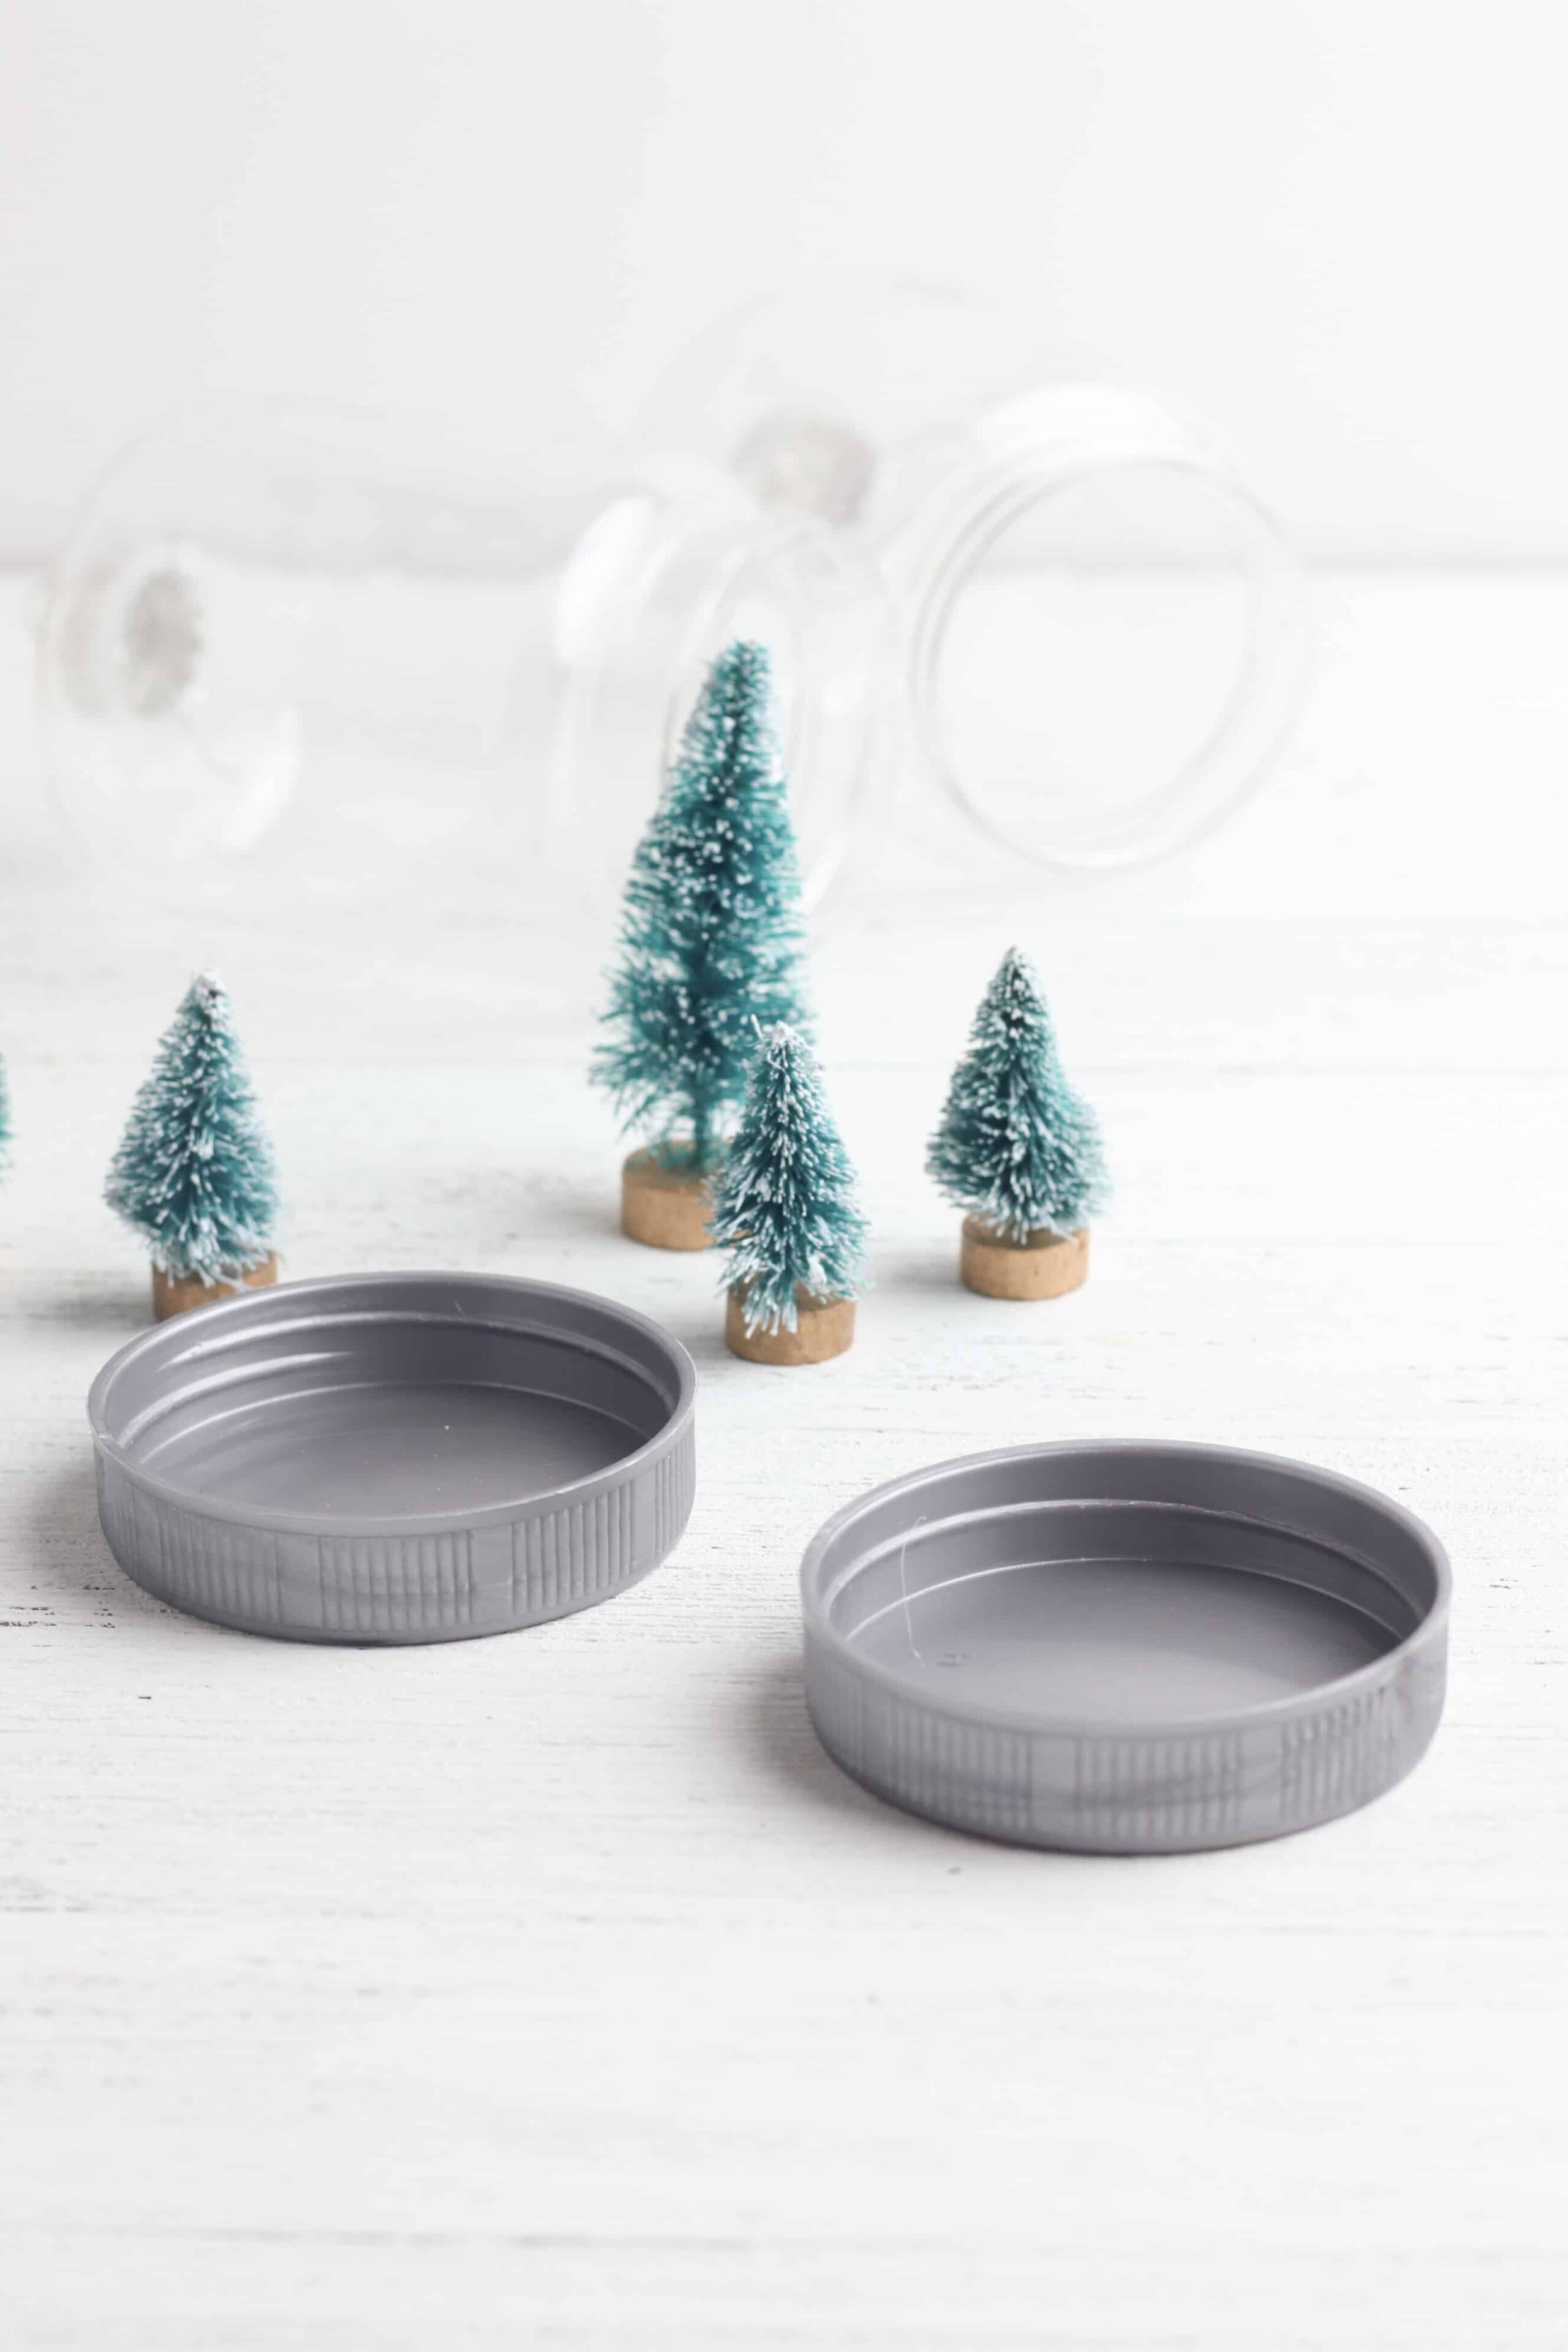
Start by taking the bottom off your snow globe ornament and setting the top aside. We’re going to create our winter scene inside the lid. First, lay a blanket of snow on the ground by gluing a cotton ball to the inside bottom of the lid.
Pull the cotton ball apart a little bit to spread it out, then spread a layer of glue over the lid. Put the cotton ball into place and fluff it up a little bit with your fingers.
When the glue has dried on your cotton ball snow, add the trees. To make sure your trees stand upright when you’re finished, spread the cotton ball out a little bit to reveal a clear spot on your lid.
Place a drop of glue on the bottom of your tree and glue it to the open area of the lid. Continue adding trees in this manner until you have your winter scene set. Then, spread the cotton ball out to cover any bare spots.
When you’re satisfied with the look of your winter scene, it’s time to add the snow. Set the lid with your winter scene aside and grab the globe part of your show globe ornament.
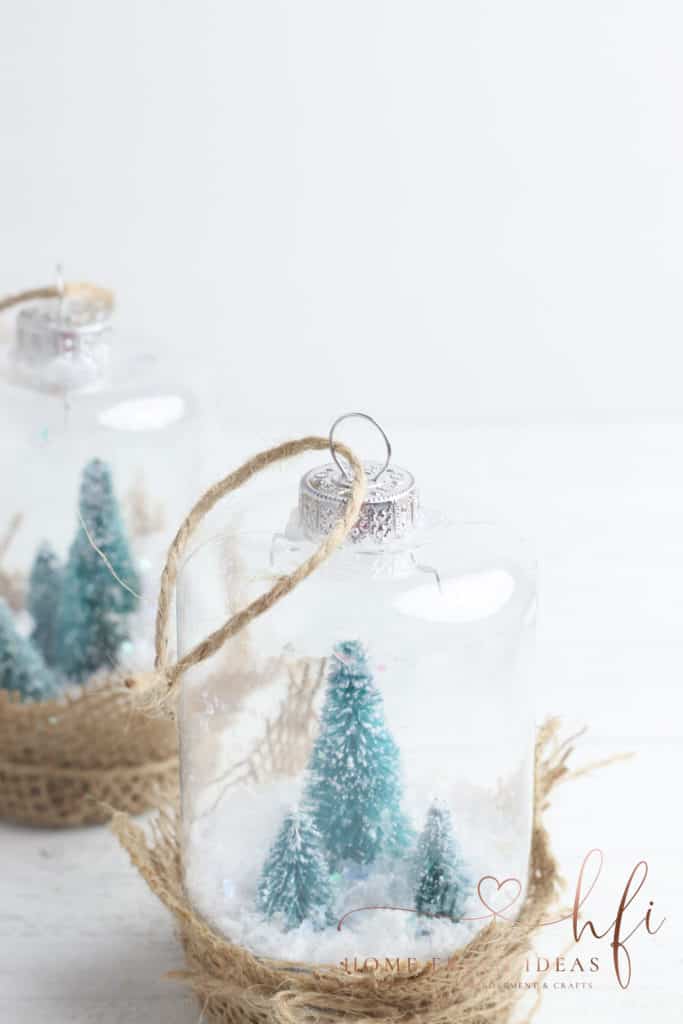
Make sure the top hanger is secure, then scoop a small amount of glittery snow inside the globe. I used a spoon to scoop the snow and ended up adding around three spoonfuls of snow to each globe.
Assembling The DIY Snow Globe
Now it’s time to put the homemade snow globe ornaments together. Make sure the glue is completely dry on your winter scene inside the lid, then screw the lid tightly onto the globe.
While you’re finished making the snow globe, I wanted to add a rustic touch to my snow globe ornament. To do this, I added a little bit of burlap to the bottom of the snow globe. This helped cover the plastic lid on the bottom and add a farmhouse touch to the ornaments.
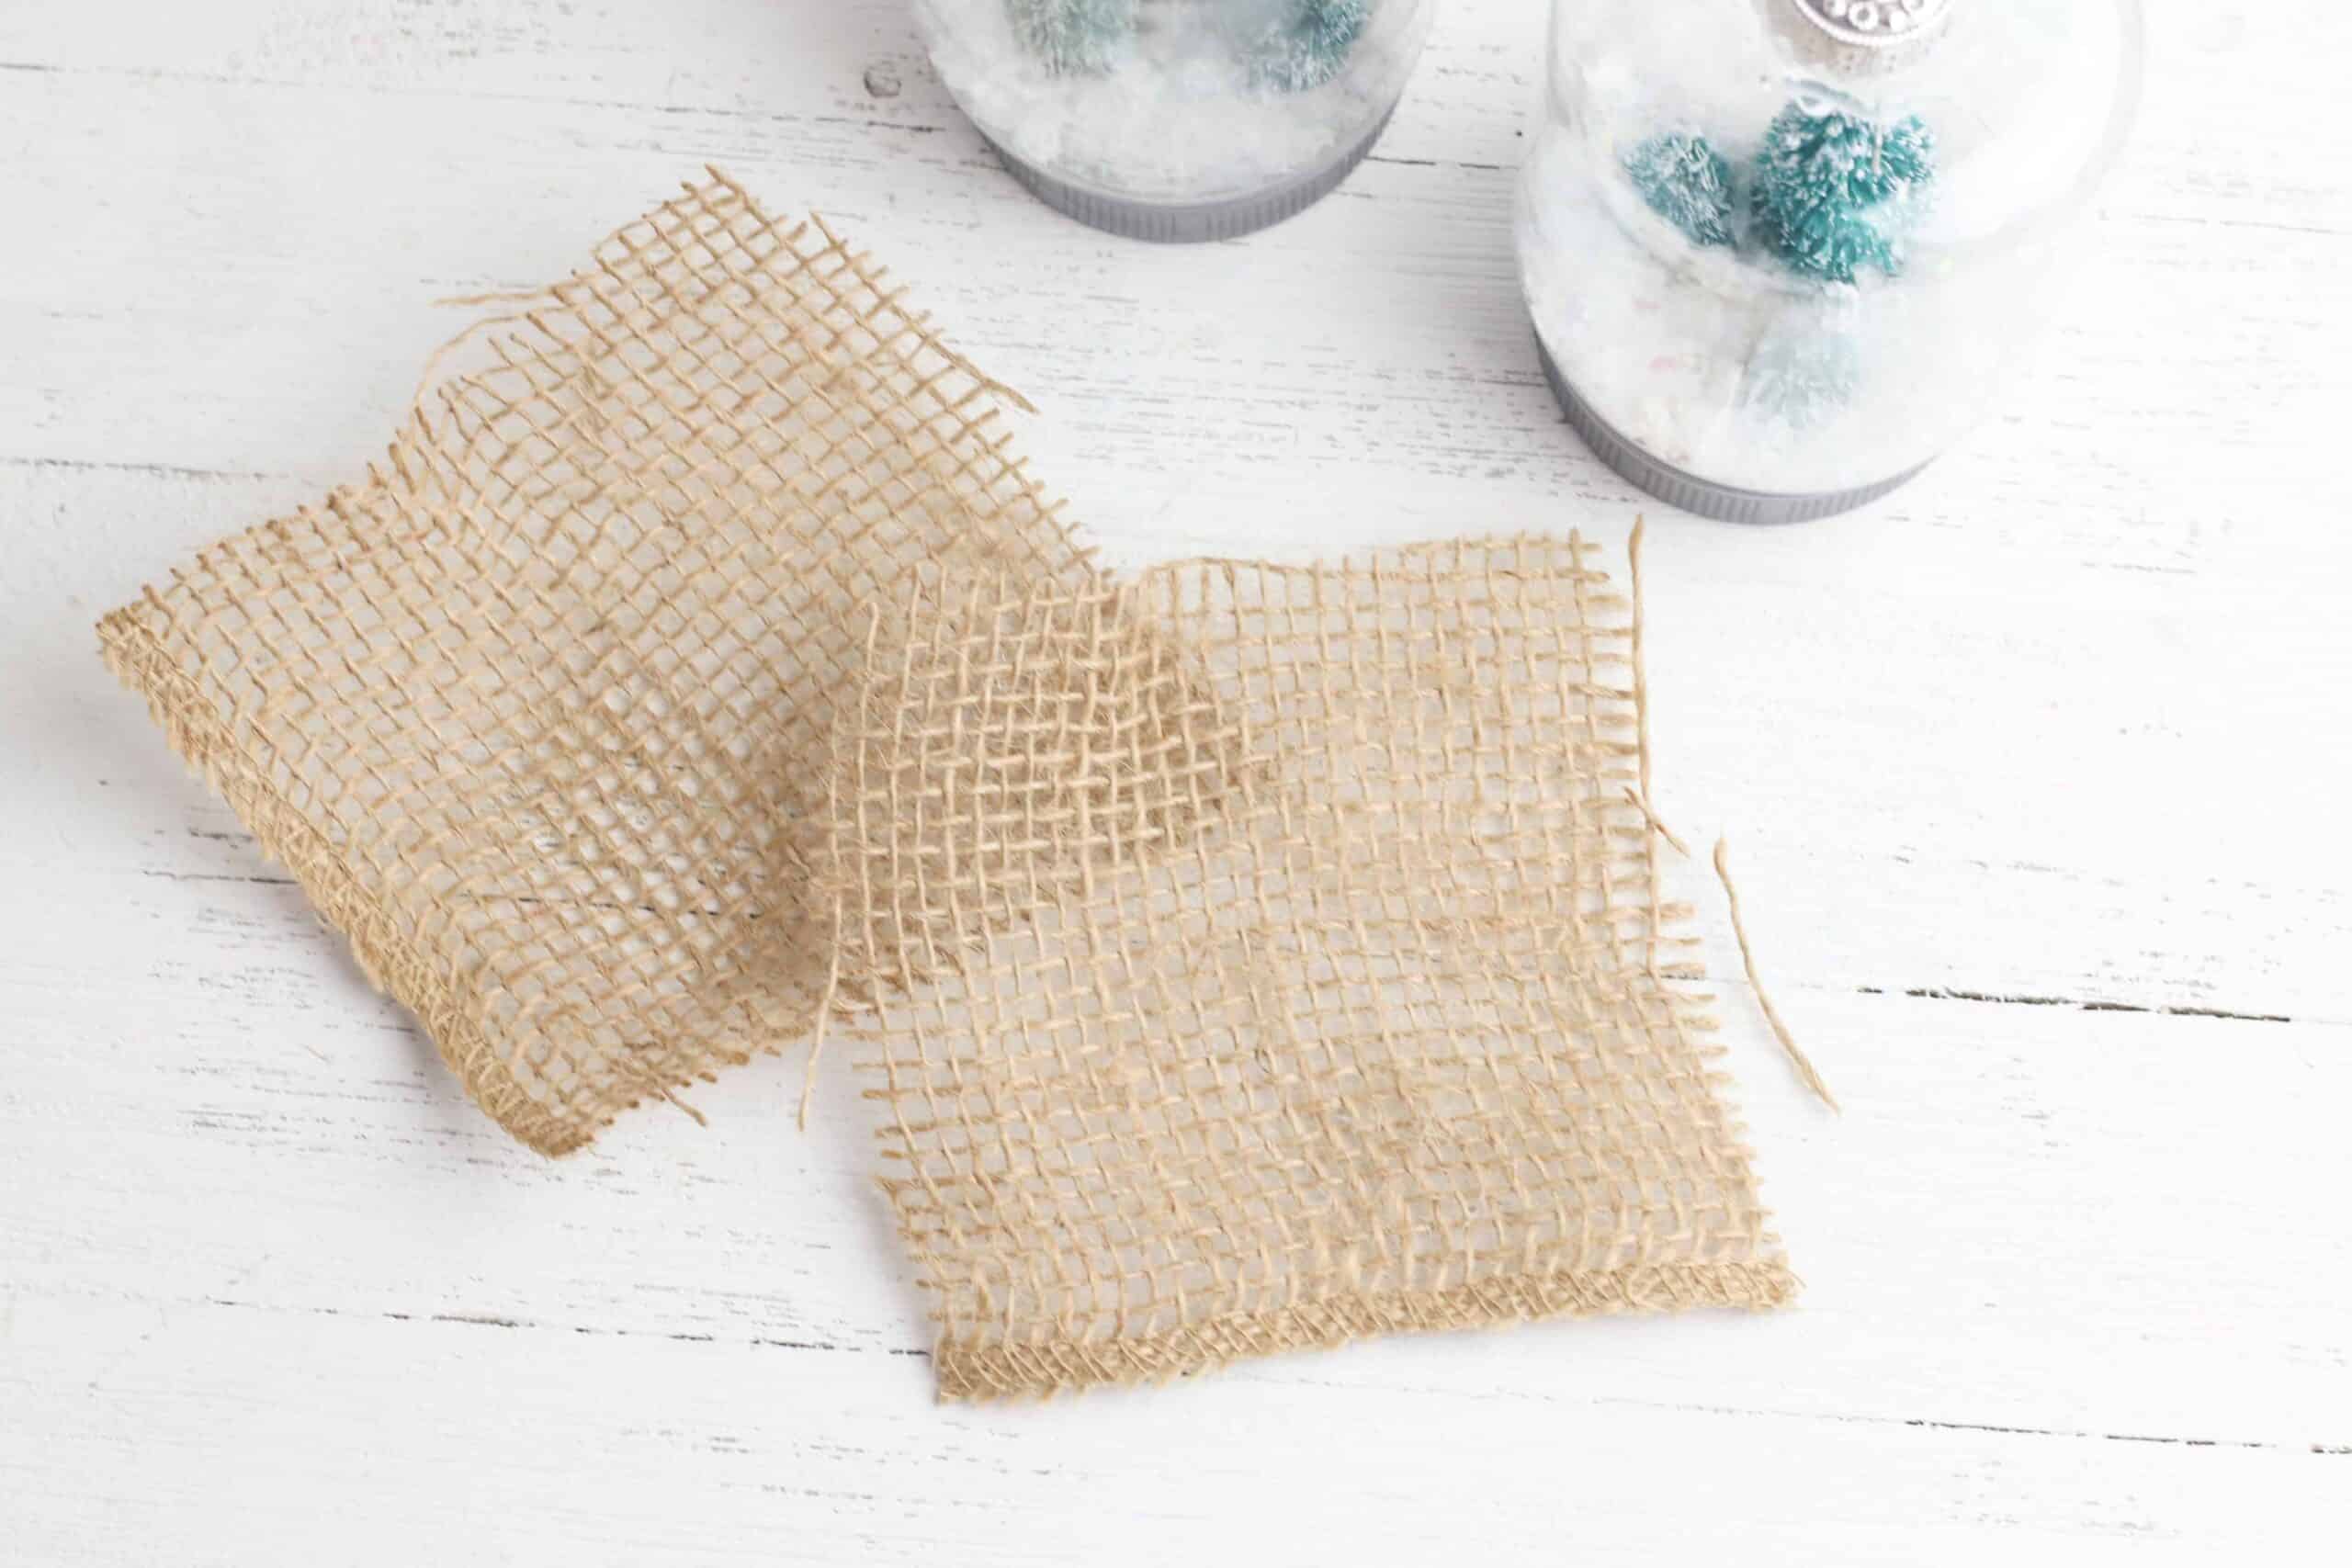
Start by cutting two small squares of burlap – enough to cover the bottom lid of each ornament. Stagger the layering of the burlap pieces, then attach them to the bottom of the ornament with some hot glue.
First, add glue to the bottom of the ornament and secure them in place there, then add a few drops of glue to the sides and secure the burlap there, too. Finally, add a bow of jute twine around the burlap pieces to make sure they stay in place.
To finish decorating your rustic snow globe ornaments, remove the silver string for hanging the ornament on the tree that came with your snow globe ornament. Instead of the silver string, tie a small loop of jute twine to the top of the ornament to give the entire ornament a cohesive, farmhouse look.
Some of the links in this post are affiliate links. This means if you click on the link and purchase the item, I will receive an affiliate commission at no extra cost to you. All opinions remain my own.
Optional Homemade Snow Globe Ideas
You don’t have to stick with merely using mini trees for these ornaments. There are lots of different ideas out there that I think you would love.
- Mini Christmas Gifts – These are an adorable idea that would look cute. You could use all sorts of colors too.
- Christmas Wreaths – I love how cute these wreaths are. They are perfect for a farmhouse style of decorating too.
- Tractor – If you are into farming, these little tractors would be a huge hit in these custom snow globes.
- Nativity Scene – Make a nativity scene with any miniatures you come across at your local craft stores.
- Santa Claus – Go on the hunt for a tiny Santa to add to your DIY snow globe. It’s even better if you find an LED lighted Santa.
Some of the links in this post are affiliate links. This means if you click on the link and purchase the item, I will receive an affiliate commission at no extra cost to you. All opinions remain my own.
Don’t Want To Make Your Own Ornaments?
No problem, there are several already made Christmas ornaments that will look lovely on your tree this year. Here are some of my favorite Christmas decoration ornament picks.
More Christmas Decorations
The ornaments are the icing on the cake when it comes to home decorating, but you don’t want to forget some of the other accessories. I am excited to share some of the best Christmas decorations you can buy.
Festive DIY Christmas Snow Globe

Learn how to make this Festive DIY Christmas Snow Globe with very few materials. Homemade snow globes make lovely gifts and decorations for your tree.
Materials
- Empty snow globe ornaments - any shape you like
- Cotton balls
- Mini trees
- Glitter snowflakes
- Burlap
- Jute twine
Tools
- Hot glue gun
Instructions
- Remove the lid from snow globe ornament.
- Glue cotton ball to the inside bottom of the lid. Glue three trees around the snow.
- Pour a small number of glitter snowflakes inside the top of the snow globe ornament.
- When the glue is dry, carefully place the lid on the snow globe ornament.
- Cut two small squares from the burlap. Glue the burlap squares to the bottom of the ornament. Tie a piece of jute twine around the burlap to secure it in place and finish with a bow.
- Tie another piece of twine on the top of the ornament to hang it from the Christmas tree.
Recommended Products
As an Amazon Associate and member of other affiliate programs, I earn from qualifying purchases.
-
OurWarm 24Pcs Artificial Frosted Sisal Christmas Tree, Bottle Brush Trees with Wood Base DIY Crafts Mini Pine Tree for Christmas Home Table Top Decor Winter Ornaments Green, Gold and Ivory
-
DIY Make Your Own Shatterproof Snowglobe
-
Tenn Well 300Feet Natural Jute Twine 6 Ply Arts and Crafts Jute Rope Industrial Heavy Duty Packing String For Gifts, DIY Crafts, Festive Decoration, Bundling and Gardening
-
LaRibbons 3" Wide Burlap Fabric Craft Ribbon On Spool 10 Yards, 01 Tan
-
Snowflake Confetti Glitter Laser Sequins for DIY Crafts, Nail Art Decoration, Party Decoration - 6mm, 10g, Blue
-
Upgraded Blusmart Hot Glue Gun, 20W High Temperature, 20pcs Glue Sticks and 10 Colors Sticks , Ideal for Quick Repairs, DIY Projects & Arts(New Style)
