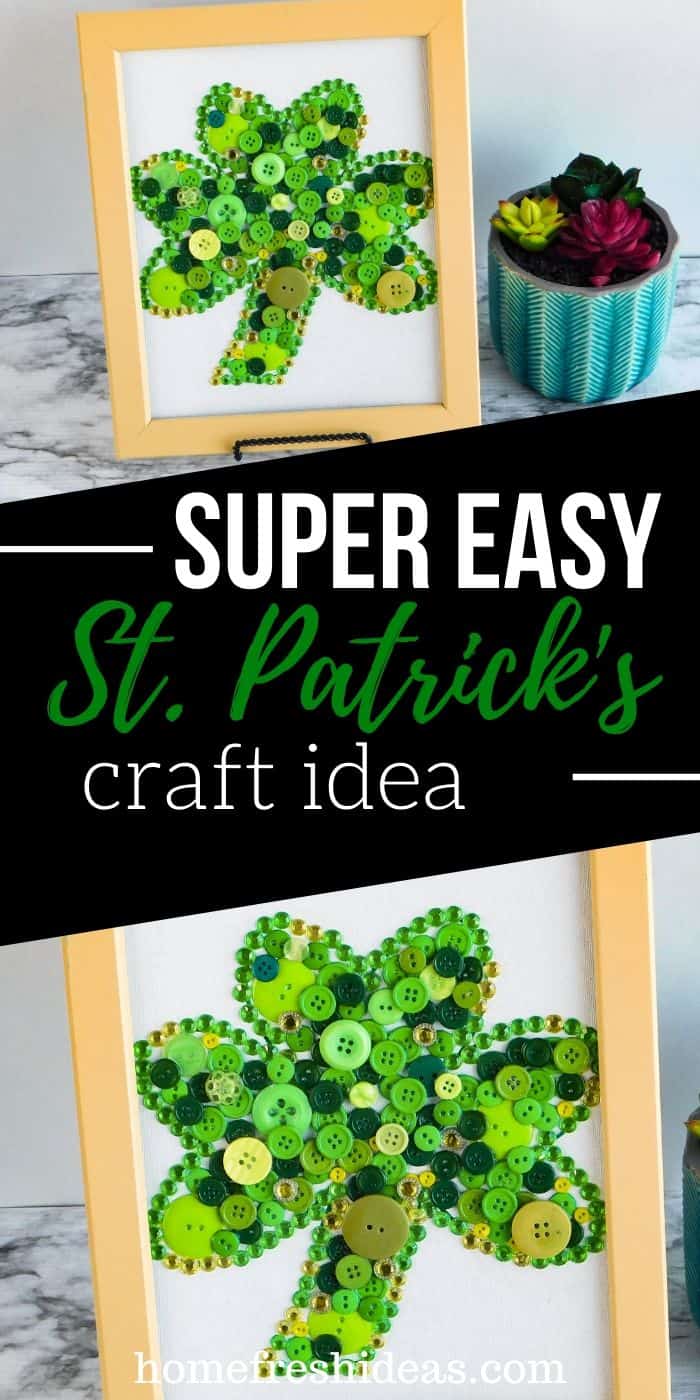
When it comes to decorating for St. Patrick’s Day I get so excited. Not only is it a fun holiday to celebrate it also happens to be the hubby’s birthday! So, we always host a party and kick the crafts and decorations up a notch or two. This easy St. Patrick’s Day craft idea is made with some simple supplies.

Easy St. Patrick’s Day Craft Idea
At our house, we love playing and crafting with buttons. We have also done an Easter Egg Button Craft too! I think the reason why we enjoy working with buttons is that it’s a great stress reliever. We can each work on our projects, have some snacks and settle in for a fun afternoon. So whether you are looking for something for you to work on or a fun kids craft, these button shamrock’s are the way to go.
Free Shamrock Template
I had tried to make this shamrock button craft a couple of times just by freehanding one, but I was never overly happy with the design. So I decided it would be so much easier to use a template instead. To get a template, just enter your email below and I will send it to you for free. (Don’t worry, I am not going to email you a bunch of junk, just your template and anything else you sign up for.)
Items Needed To Make This Button Craft Idea
You really don’t need a ton of supplies for this St. Patrick’s day craft. I love working on projects that I don’t to buy a bunch of stuff to make it. Here is a list of the items you need.
- Assorted Buttons – I used green, but you could use a variety of colors.
- 8×10″ Canvas – I prefer the 8×10″ but you could make any size you want.
- Paper or Card Stock – This is just to print the template on.
- Craft Glue – Use a glue that dries clear so you don’t have a bunch of white glue everywhere.

How To Make This Easy St. Patrick’s Day Craft
It’s truly the easiest craft idea ever! There are minimal steps involved and kids and adults will have a great time working on their project. Let’s get started:
First Step: Print off your template on paper or card stock. Cut it out and trace it onto an 8×10″ canvas.
Second Step: Using craft glue put a little bit on the canvas and begin adding buttons where the glue is. I find that it’s much easier to make a border first, then fill in as you wish.
Third Step: Let the glue dry before putting the canvas upright. I usually let mine dry for 12 hours because if the glue is wet at all, the buttons will slide and all your hard work will be for nothing.
That’s it! Now you can easily display your new shamrock craft and enjoy it!
Do I Have To Frame It?
No, you don’t have to frame it all! I found some super cheap frames at my local dollar store and painted them with chalk paint. I love how the frames turned out and I made all sorts of colors. That way I can just put whatever I want in the frame and I’m good to go.
You could just place the buttons on a canvas and not frame them if you’d rather. It’s totally your craft so make it your own. I find that for the kids, I don’t always add the frame because they want to use it differently than I do.

Do I Need To Put The Glass Back Into Frame?
If you opt to go with a frame as I did, you will find that glass no longer works. I saved the glass for another project, but you could do whatever you want with it.
Adorable St. Patrick’s Day Decor To Go With Your Button Craft
I just am in love with these decorations and wanted to take a second to share them with you! Take a look!
Some of the links in this post are affiliate links. This means if you click on the link and purchase the item, I will receive an affiliate commission at no extra cost to you. All opinions remain my own.
More Easy Craft Ideas For You
Take a look at some of these additional craft ideas for inspiration for your next project. Each one is so much fun and adds character to your home or makes a lovely gift idea.
- DIY Bathroom Farmhouse Wood Sign – This is SOOOO pretty and adds an elegant flair to your home.
- Epic Wreaths For Every Season – They are gorgeous!
- DIY Soap Dispenser With Repurposed Liquor Bottle – So simple and everyone goes wild for it.
- Mason Jar Decorations To Spruce Up Your Space – They are a blast to make and look awesome.
